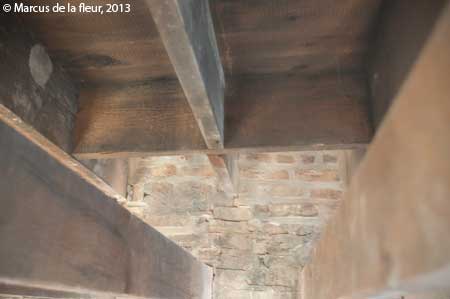
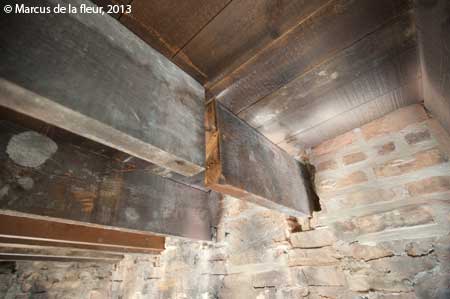
The 2nd floor load bearing wall reinforcement moves along for the sake of a future vegetable garden on the roof.
While we opted for removing and rebuilding the load bearing wall in the back 1/3 of the building, it made sense to reinforce the wall in place for the front 2/3. The existing conditions such as ceiling joists and perpendicular wall connections didn’t lend themselves to remove and rebuild.
To replace the two by four top plate with a two by six header, we cut off the top of the wall studs, removed them along with the top plate, and fitted the new header. The bottom of the wall received the almost identical treatment, except that we left the two by four bottom plate in place and just set the new two by six header on top of it.
And along the way, we installed the heavy duty LVL headers (Laminated Veneer Lumber) to span the larger openings at the French door and pocket door locations. All of the regular door openings also received new and properly sized headers in the same fashion as those on the 1st floor.
Jack in the bottle – or – bottle jack
One major component of load bearing wall reinforcement is the vertical blocking under each roof joist. The existing blocking was certainly insufficient, but still, it was taking weight from the roof and transferring it down.

Under those circumstances, do I really want to remove the load bearing wall, or start cutting section out from it? No, certainly not! As a matter of fact, removing or cutting out wall sections would have been next to impossible. Consider the existing roof weight that was poorly but nevertheless still transferred onto the wall.
Our solution rested on two jacks – heavy duty bottle jacks – that allowed us to lift up the roof to the point where the weight was taken off of the load bearing wall.
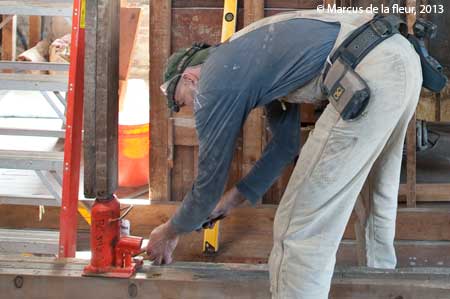
We placed the jacks between a header across the roof joists and a header across the floor, both two feet off the load bearing wall, added studs, and lifted 12 foot sections of the roof at a time. When we had about half an inch of clearing between the roof joists and exiting blocks, we removed the blocking and began with the wall reinforcement. Once done, we tightly fitted the new vertical blocking under each roof joist and lowered the roof back back down.
I had some good and essential help with this framing adventure. Thank you to our friend Drew, and also to Dan Rockafield, who lent their expertise and help. A thank you also to Matt who let us use his heavy duty bottle jacks.
Related posts:
- Green roof and blocking – Part 1
- Roof joist reinforcement – kitchen
- Roof joist reinforcement – dining room
- Spatially challenged
- Removing 2nd floor ceiling joists
- Pocketing for the green roof
- About structure, green roofs and pockets
- From major to minor to fixing it
- Snafu – of the major kind
- LVL header
- Headers for a green roof
- Pipe column details
- Working on the green roof dream
- Vegetable garden support…
- Pouring the spread footings
- Spread footings
- The green roof dream