To get the container placed where I wanted, I had to move mountains. Maybe not a mountain, but a hill. OK, it was just a pile of topsoil.
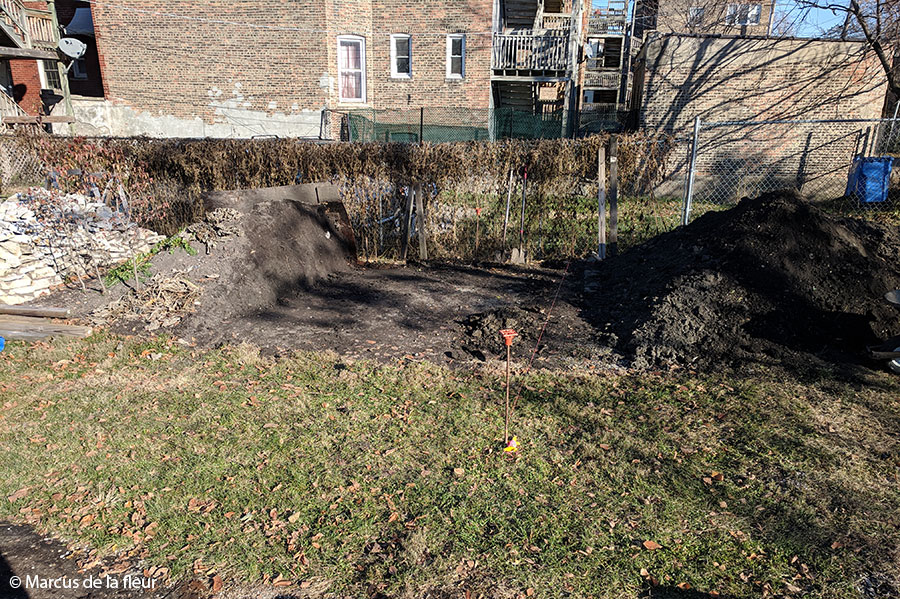
It was the topsoil I salvaged from the parkway rain garden installation. And it was sitting right where I had planned to locate the container.
Once that was moved out of the way, I could start excavating for the concrete slab and aggregate base. I dug down until I was on solid subsoil. That ended up being deeper than the required six inches shown on the plans, because I wanted to get past some buried debris that I came across.

With the excavation complete, I proceeded to compact the subsoil. That was a little bit of a bumpy ride due to the undulating terrain. That problem was solved by leveling out the bottom with dense road base aggregate (IL DOT CA6), followed by the specified granular road base (IL DOT CA7). I kept compacting each four inch layer of base during the installation.


While I was installing the last layer of aggregate base, I also installed the form work for the concrete slab. This helped me with getting everything to the right elevation and level.
The top of the concrete slab was to be a few inches above existing grade to keep the container high and dry. Water should flow around the slab but not onto the slab.
You have laid down a very solid base for the slab. I note that your plan includes rebar in the slab. The result should be a concrete pad that outlasts the container. Good luck on the container installation. I believe that it is an excellent and cost effective method of storage for you.